|
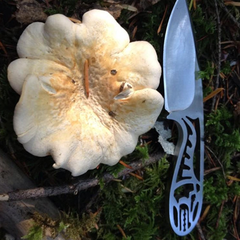
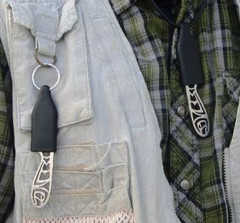
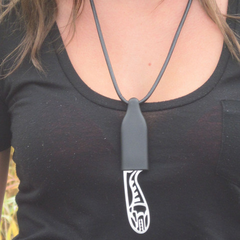
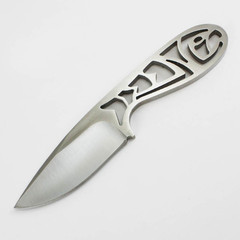
Last summer my wife and I were puttering around Comox, B.C. during the early hours of the towns Nautical Days celebration. One event of the annual festivities is an artist show in the Marina Park. It was the usual mix of high end paintings, jewelers, nick-nacks, food vendors, and photographers. Not much was catching my eye this day, and I was feeling anxious to head out for our annual salmon fishing trip on the North Island. Reports of great fishing had filled my ears, and I was excited to put some pink salmon in the larder for the winter. We happened upon one booth that was different. Knives! Now were talking. I love a good blade. I own so many, a fascination over the years of finding a knife that could shave my arm and hold an edge. Unfortunately, my search has been for not. So many nice tools that just don’t fit my criteria. It is a disappointment to drop a good chunk of change on something, to be dis-satisfied by the performance of the blade. Immediately I could see that there was something different about this knife maker. Terrier Blades had neck knives! I had only recently heard about these fine handy devices. I had seen them before. One of my mentors, Jack Spirko, at the Survival Podcast wears on all the time. I had never seen one in person before, so this was a good day. I picked one up for a closer inspection. The knife was created with artwork laser cut into into the handle, native art inspired. There was a salmon, a ram, and a bear. I was certainly drawn to the bear, as it is my favorite animal in Cascadia. He also had a sailboat, and a duck in more traditional symbols. To round out the neck knife line were a selection of women specific models. They had beautiful inlays in the handle of abalone shell. Jewelery meets every day carry. Very clever. Peter Demmer, the owner and knife maker could see my enthusiasm for his product. He showed me how to remove the neck knife from its unique nylon sheath. Most neck knives us Kydex, a type of plastic that is molded and cured in an oven, to secure the knife. It poses some challenges, while nylon is flexible and will pinch the blade to keep it in place. The nylon sheath is secured to your neck with a leather cord. My wife could see my “kid in a candy store” eyes and bought me one for an early birthday present. I had a brief look at some of the other offerings, and a quick exchange with Peter, but we had to go as a crowd was gathering. Receiving the knife just in time for camping was perfect. It was with me the entire trip, and was ready to go. Unlike a belt style fix blade, which I find can be cumbersome while sitting in a vehicle or going to the bathroom, it is tucked in tight to the body. No need to pull it off when changing pants or donning chest waders, as happens often while on fishing trips. Rights at hand for nipping bits of tippet from my fly line, sharpening a marshmallow stick for the kids, and gutting a fish. Being made from 440B stainless steel there is lower risk of immediate rust from salt water(Peter assured me that ALL steels should be rinsed in fresh water after exposure to the sea). While I didn’t get a chance to go hiking with this tool, I would much rather wear this while carrying a multi-day pack, then a sheathed knife on my hip that would get in the way of my pack waist belt. Even for paddling adventures I could see uses. When wearing board shorts on a paddle board, or in a kayak. Really there are no situations, in my mind, where a knife isn’t an important tool to have on hand. I wear the Necky while riding my bike to and from work. One never knows when that blade will come in handy. For the ladies(and the gents) who like to get dressed up and don’t want the bulkiness of a tool in their pocket, or don’t have any pockets at all, here is your solution. Your LuLu pants don’t have room for security or tools, this will easily conceal under running clothes or yoga wear. This isn’t a tool for everything. I would not want to gut and butcher a moose with it. Your hands would be way to sore, not enough leverage in this compact package. This isn’t the appropriate usage for this tool. I still pack my belt knife when hunting for doing larger tasks, but two is one, one is none, so having a back up knife is essential to ensuring the ability to give proper care to downed game. A belt knife could potentially fall out of it’s sheath at some point, lost for good. This five inch back up, EDC knife will be there, concealed or not, comfortable, not cumbersome, and looks pretty damn cool too! Check out Terrier Blades website, use the coupon code “blayne” at check-out for a great discount.
2 Comments
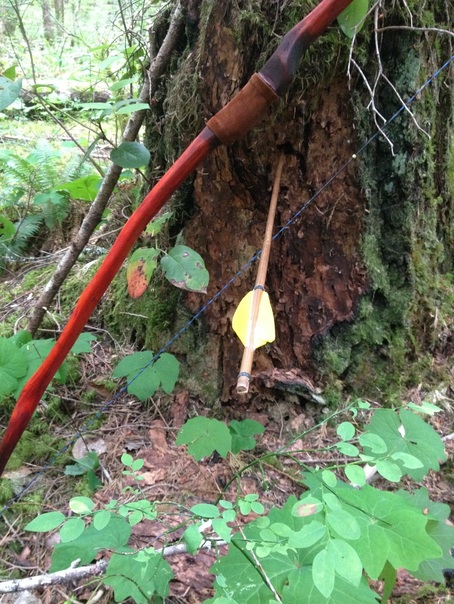
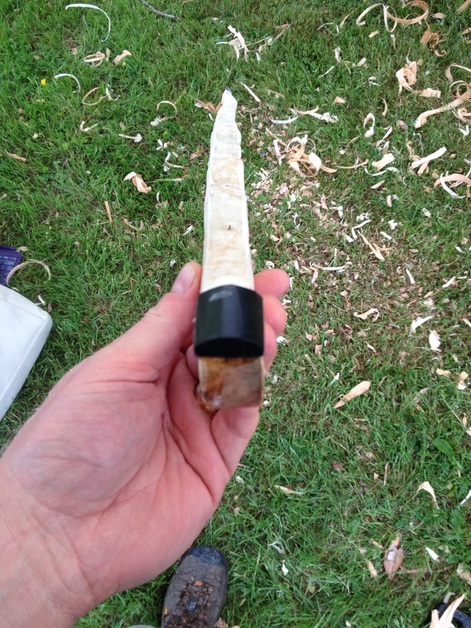
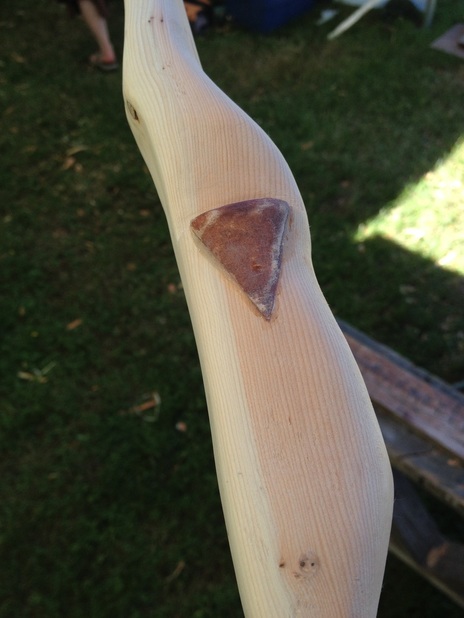
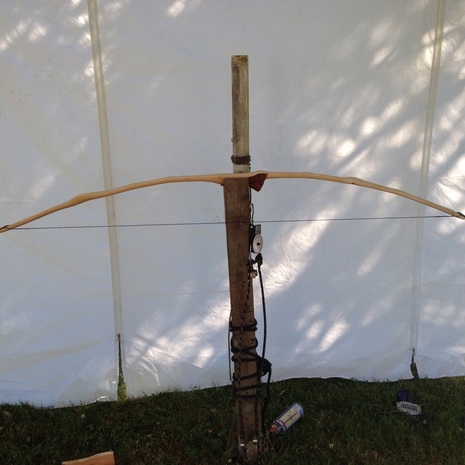
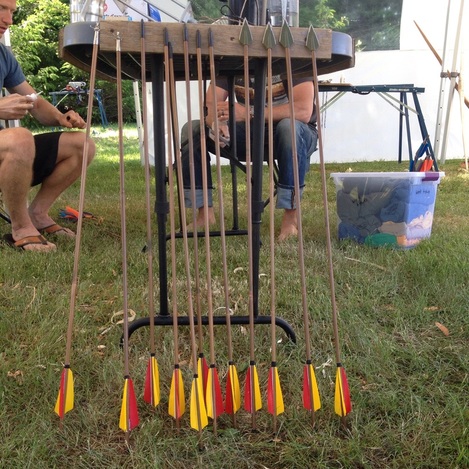
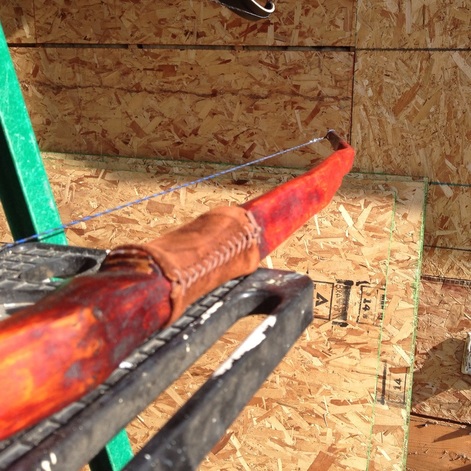
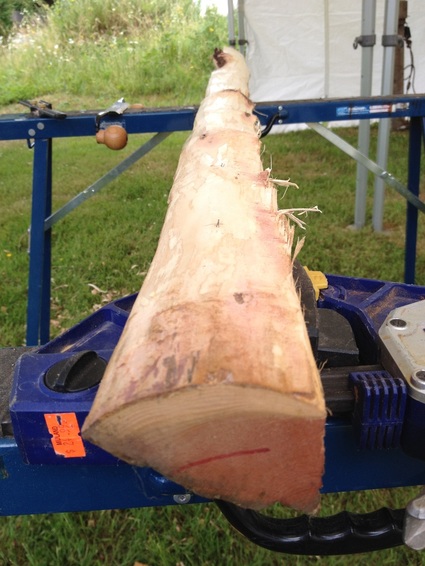 Stave de-barked Stave de-barked Late this past winter I was having grandiose ideas of my hunting future. Spurred by the postings on social media of folks like Cameron Hanes, Donnie Vincent, Eva Shockey, and Joe Rogan, I was going compound. As I wrote in this blog before, my mind was set that a new compound was to be bought and that was going to be that. Some how the memory of my previous wheely bow, the dis-satisfaction of shooting it, the gadgetry, the hype and marketing of the newest add-on parts to convince consumerist hunters to part with their dollars, had left my mind. I was caught up in the hype. My wife and I stopped at the new Cabelas in Naniamo one evening and I was jacked. Bee lining to the archery section at the back of the store, reaching up and grabbing the first one that was on the rack, waiting for a "Surge" of excitement to "Pulse" through my veins. Nothing happened. I felt cold aluminum. I felt un-natural rubber. I saw odd attachments and parts that would break and cause problems. I saw marketing and that was that. Puttering around for a while to see if my mood would change. I tried again. Different brand. More expensive. Nope same result. I knew at that instant that I was a traditional shooter, there was no denying the fact. Several days after coming home I happened to be on the Ravenbeak Natureworks website. Workshop coming up in my area in June. With little thought, I signed up. Several locals I know had participated in this workshop, including my cousin, and had come home with beautiful Pacific Yew selfbows. The day arrived. Much anticipation for this workshop along with some guilt, as my wife was staying home with our 1 month old daughter for the four days I was to be away. The workshop was held at the childhood home of Bowyer, and workshop instructor Jamie McDonald. Tents were erected to shield us from the late June sun. A pleasant greeting and conversation, along with meeting Jamie's family, his wife Jenna and two children. A friendly bunch, very welcoming and enthusiastic. I could feel that this was going to be a fantastic weekend. While a normal workshop is seven participants, due to two last minute cancellations by a couple from California, we were 5. A young couple from Victoria and and two middle aged women from Ontario. This workshop is all inclusive. I wouldn't suggest it for very young children, but a twelve year old would have no problem keeping up with this process. A brief introduction of the participants and our instructor, led into tool discussions, housekeeping and safe working procedures. We then walked through two dozen Yew wood staves that Jamie had brought for us to select from. We discussed our type of bow, either a Native American Flat Bow or an English Longbow. Major difference between the two being the handle. A true long bow bends through the handle, where the flat bow riser is stiff, allowing for a more custom grip. We all chose to make the flat bow. I selected one with a large knot that I knew would leave me with some character in the finished product. Before we knew it the draw knives and spoke shaves were out and the bark was coming off, revealing the creamy white sapwood of this bizarre and wonderful tree. Jamie helped each of us figure out our draw length too, since that number is part of the decision factor in the nock to nock measurement of the bow. The sticky bark and undulating first growth ring made de-barking much slower that the maple staves I have stripped before, but before long we were all laying out our profiles on the backs of the bows. Day one ended with us all on the hatchets and draw knives working down the staves, bulk wood removal, getting them roughed out as quickly as we could. Many groans from sore forearms were heard, and Jamie promised us that day one was the hardest. The next morning the staves were out for us and after a quick check in with everyone's progress, we were back at it. Some hatcheting work and mostly draw knife and rasping. Trying to remove less wood, in a cleaner fashion so we didn't remove too much wood. I was aiming for a 50lb draw weight at my 28" draw weight, so I was moving slowly, un-sure about removing too much of my belly and causing me to miss my desired number. The others were progressing faster than me, which was slightly frustration for my as a competitive guy. However, I pushed that aside to focus on making a beautiful piece that I hope to pass down to my children. We were giving the opportunity to glue nock overlays of water buffalo horn to protect the limb tips from the string, which everyone did. Also the string jig came out and Jamie gave us a demo on making a flemish twish bow string. It was fun watching everyone figure out how to do it, and by the end of the day all had successfully made a string for their bows.By the end of day two, one of the ladies was shooting her bow, and was super excited about it! Day three was a long morning for me. Still desiring to hit my weight, I slowly worked the belly and the sides of my limbs down. Using mostly a cabinet scraper, shaving microns of wood at a time. I must have tillered that bow 30 times. I even broke the scale! It just wore out from use, but the bow dry fired and I was was concerned. Jamie wasn't, since Yew is such a tough wood. Not recommended to ever do on purpose, but stuff happens. The others were sanding theirs and getting ready to finish. Finally after lunch I put it on the tiller and exercised the limbs, pulling down to the 28 inch mark. 52 pounds! Perfect! I was thrilled. Now I could sand this sucker and get on with it. An hour of finishing with various grit sand papers to smooth the wood was worth the time. Well sanded wood gets so smooth. Just beautiful. As I was getting close to finishing, Jamie mentioned that if I was planning on hunting with the bow, I might want to stain it. This hadn't crossed my mind, but since I had stained my previous bow it made sense. A bright white stick in a tree is very noticeable to game, even if they don't see colors. Having browsed the Ravenbeak website numerous times and seeing Jamie's work, I knew what stain I wanted. A beautiful red tone, called English Tan. I rubbed dark brown on the tips down about a quarter of the way, along with the handle, then used English Tan on the rest. I love it! Finishing also included creating an arrow shelf with leather and forming the grip, rasping it to a comfortable shape for our hands. The day ended with my bow nearly finished, with just a few coats of Tung oil left to do. The fourth day was an arrow building workshop. This is an add on to the bow workshop and we had a couple new participants to the group. One fellow was an old acquaintance of mine from high school, who now lives in Victoria. Selecting bamboo shafts in the correct spine for our bow, we cut to length, chopped feathers, made self nocks, set the fletching, tapered shafts to accept the points and re-inforced nocks, fletch and points with silk thread. Making a dozen arrows is a bit of a tedious process, especially for a first timer. Set-up at home with out having to share tools and it could be accomplished much faster, plus the learning curve of the fletching jig and the silk thread wrapping taking time. Making arrows from bare shafts is something that has always appealed to me, and I am happy to have finally learned from a person not a book. My one wish is that I did cut my shafts to length and glued on my points so I could properly tune them to my bow. Since I made four arrows with broadheads for potentially hunting with the new set-up, a tuned arrow flys truer and gives greater penetration. It is something that I will have to work on figuring out how to adjust. Before I was to shoot, one more thing needed to be done. I really wanted a leather grip on the bow. One reason is to hide the leather arrow rest, and also because they look really cool, and also wanted to learn how to work the leather. Opting not to glue the leather on, so it could be removed at a later date, we set to work on it. Even thought Jamie said that leather grips were his nemesis, he graciously built and laced a grip on the bow for me. The dark brown, suede leather looks and feels awesome in the hand! Finally the wait was over. Four days of hard work my bow was done. A final check on the tiller and the weight held at 52lbs at 28 inches of draw. A small target butt was in the yard and I took advantage. Nocking one of my first ever home built arrow, I drew back, found anchor at the corner of my mouth, picked a spot and let loose with all 52lbs. The arrow hit the target with authority. Jamie looked up and smiled. It was a hard hitter, fast and smooth. I decided to call my first Yew bow "Naka", after my childhood home and favorite camping destination. The bow has taken a little set, which is pretty normal for an un-backed wooden bow. The character in the Yew is beautiful, knots, bumps and snakey parts. Gorgeous wood to work with, and within days of the workshop I was already out looking around for some wood that I could use to carry on this new passion! I highly recommend this bow workshop. The price for the workshop, including the arrow building one, is so reasonable. It costs less than any compound you can buy, or custom traditional bow, plus you get the camaraderie, skill building and the ability to tell folks at the range or hunting camp that you made it! They include a fantastic lunch everyday of soup, salad, bread and sausage, perfectly separated for every type of eater, plus an afternoon snack of some sugary baked goods. While this workshop didn't teach me anything I didn't know in theory from reading the Bowyers Bible, seeing a master work and speak of his craft taught me volumes of things that the books and Youtube can't. I look forward to working with Ravenbeak in the future to hopefully help create some interesting new workshop ideas, and if nothing else I have some new friends in the bow making world to turn to if I need anything. |
Categories |
 RSS Feed